AI Video Editing Tips for What to Fix First in a Rushed Cut
These AI video editing tips start with the problem you can see or hear. If a video drags, check the opening and repeated takes; if an explanation is hard to follow, check the voice and supporting shots. Give the AI one clear correction, then replay the changed section.
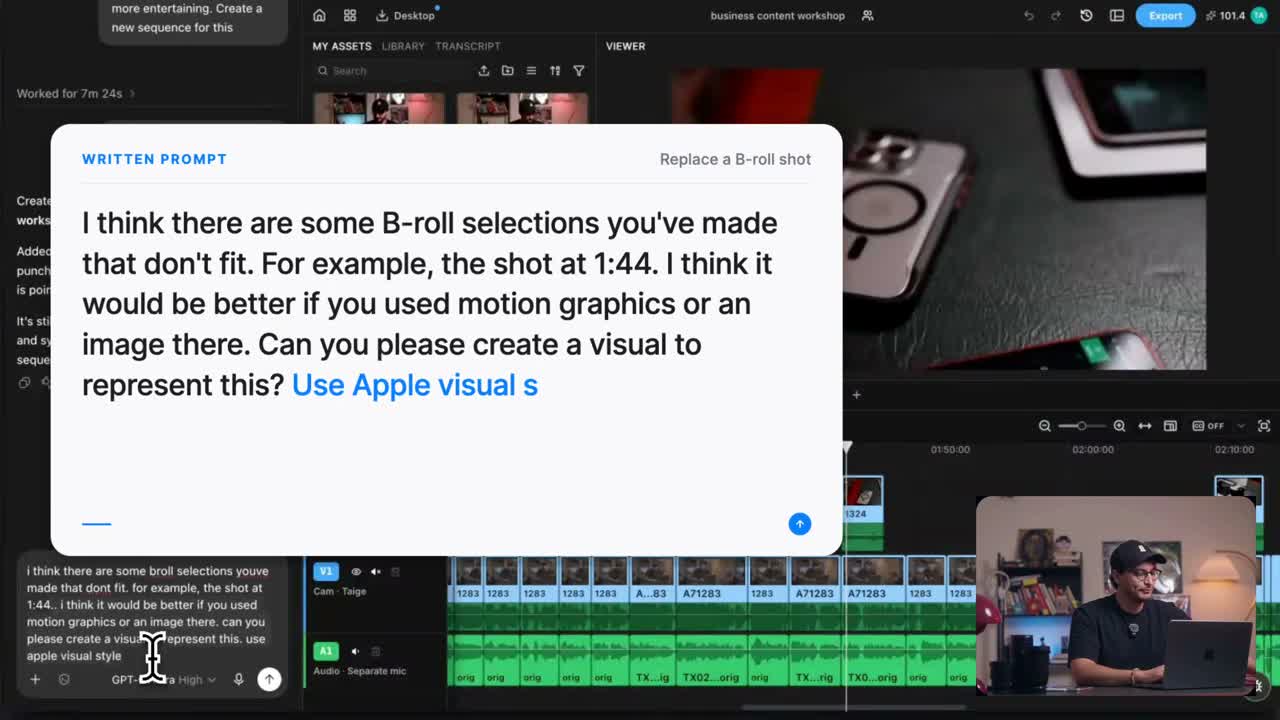
A good looking edit can still lose its point when a cutaway illustrates the wrong sentence. A product beauty shot, for example, tells the viewer little about the small control the speaker is explaining. Replacing it with the relevant detail can make the explanation clearer without making the whole video shorter.
In ChatCut, you can name that passage, describe the change, and compare the revised timeline with the earlier cut. These twelve tips help you turn a pacing, sound, or picture problem into a specific edit you can review.
Fix the story before you polish the picture
When the cut feels aimless, return to the point you want the viewer to understand. Check the source selection, opening, and order of ideas before trimming more time.
1. Check which recording the AI used
If the cut uses an abandoned take or leaves out the demonstration, check its source before changing the pacing. Name the recording, intended viewer and result in the next request. Keep the other takes available in case the new selection needs a phrase from them.
Use the product walkthrough and separate microphone recording. Make a tutorial for first time users who need to finish account setup. Keep the setup steps and the final successful result.
Check the imported assets before continuing, especially when several files have similar names.
2. Agree on the opening before recutting
Ask the agent to propose the opening and order of ideas. Read the proposal against the recording, then accept or correct it before editing.
Summarize the main points and recommend an opening. Identify any missing context. Wait for me to confirm the structure before changing the timeline.
This approach appears in ChatCut’s published tutorial. It makes a disagreement about the story easier to correct before the project gains more layers.
3. Remove repetition before speeding up the speaker
Remove abandoned attempts and repeated explanations first. Then inspect smaller gaps and fillers. A shorter runtime is useful only when the remaining thought stays complete.
For an account setup tutorial, a second attempt at explaining the same screen may be expendable. The instruction that tells viewers which setting to choose is not. Removing the repeated attempt makes room for the useful explanation without making the speaker rush.
In ChatCut, Transcript deletions cut recorded time ranges. The transcript editing walkthrough explains source selection and the Pauses control. Listen before removing a hesitation that might convey uncertainty or a deliberate qualification.
4. Compare a new structure with your earlier cut
A new opening may sound stronger on its own but fit the rest of the story poorly. Duplicate the timeline before trying it so you can compare both versions with the same source. Name the copy and select it before giving the next instruction.
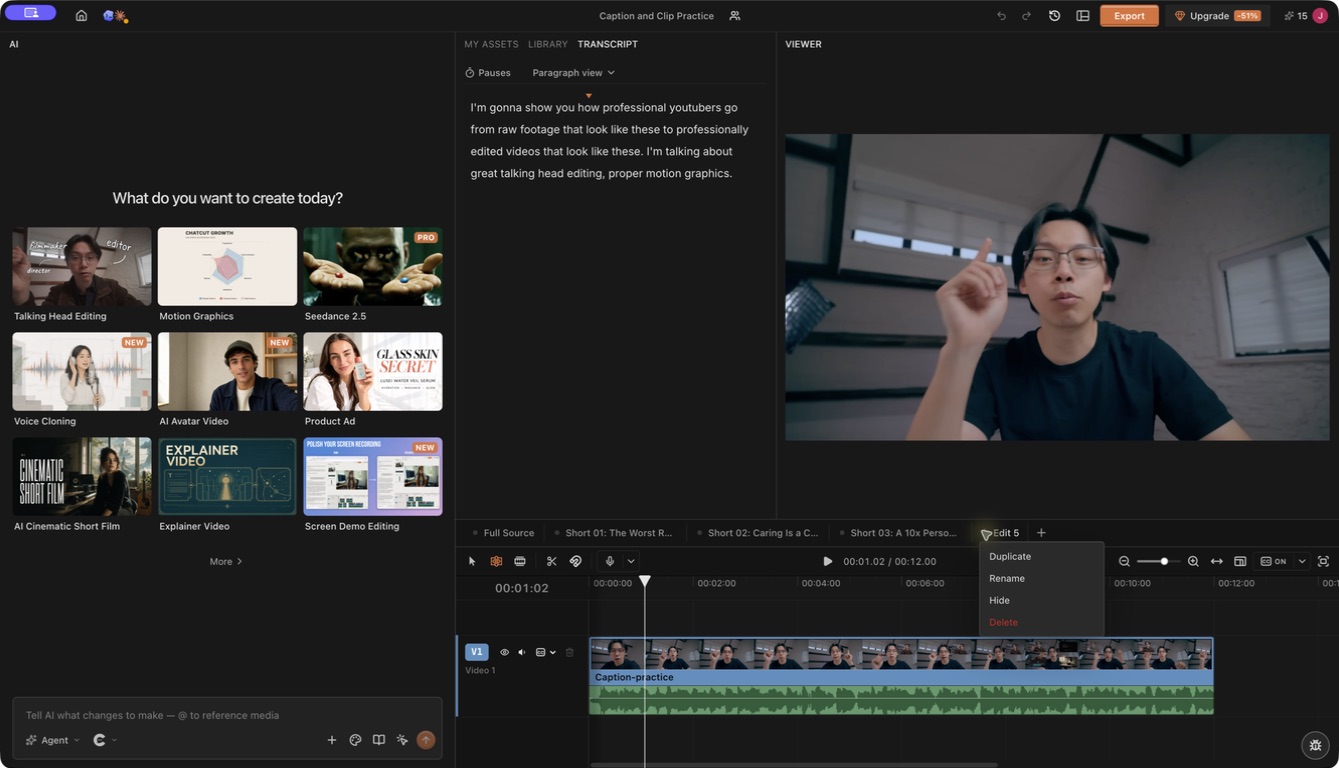
Play the alternative opening with the rest of the piece. If it depends on information you moved later, restore the context or choose another opening.
Make every layer support the sentence it accompanies
Watch for the moment when a shot, caption, or sound pulls attention away from the explanation. Correct that layer and play it with the dialogue again.
5. Replace a shot that explains the wrong thing
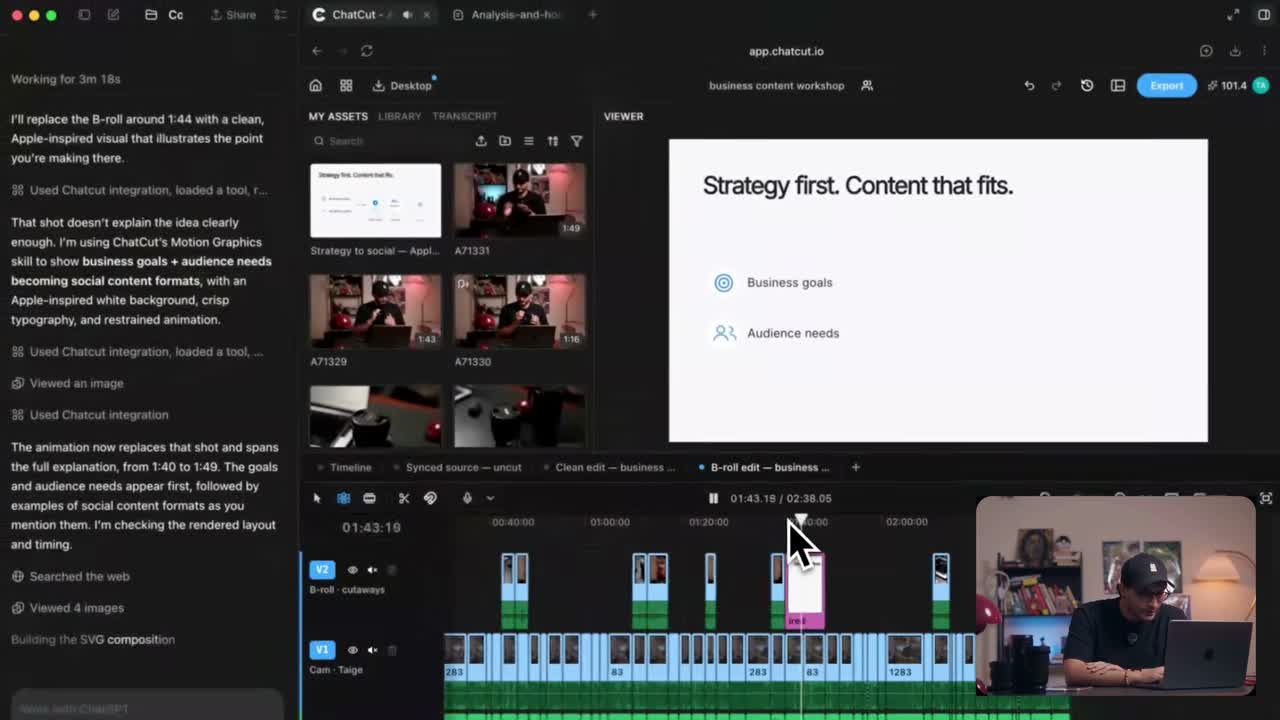
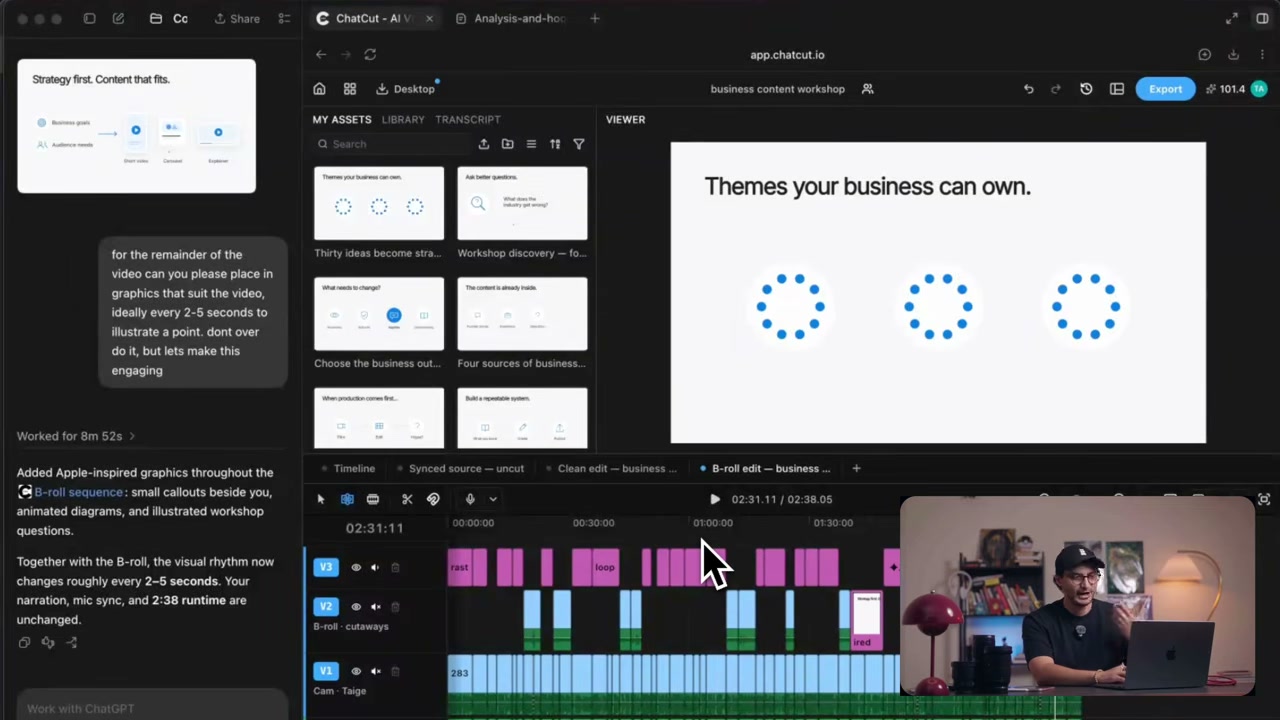
Use a recording, image, or graphic that explains the current sentence. A visually impressive insert can still make the explanation less clear. If your source has no suitable shot, you can generate supporting footage and check it against the spoken point before keeping it.
Replace the supporting shot at [time] with a diagram of [relationship]. Keep the speaker’s audio and the surrounding edit.
6. Make the voice clear before mixing music
Listen to the speech on its own for noise, level changes, and sync. If you use ChatCut’s AI Voice Isolation, compare the processed result with the original; reducing noise can also affect the sound of the voice.
Place music on a separate audio track. Audio ducking lowers music while someone speaks. Set dialogue as the anchor and music as the follower through the audio track controls. Listen through pauses to ensure the music does not rise distractingly between words. If you still need a soundtrack, generate music for the scene before making the final balance adjustments.
7. Fix the caption without cutting the recording
Use Content to fix the text viewers read. Deleting words in Transcript removes the recorded passage instead.
Check a name, a number, and the busiest frame in the video. Then review the whole caption track. A single quick scan does not guarantee every error is caught, especially after cuts change the timing.
8. Balance exposure and color between shots
Compare adjacent shots for brightness and color before applying the same LUT everywhere. A LUT applies a stored color treatment; footage recorded under different lighting may still need individual adjustments to match.
ChatCut’s Library and effects controls let you add a supported LUT or effect to a clip and adjust exposed properties. Play the cut between shots and inspect skin tones and bright areas after the change.
Keep each correction local and check the file viewers receive
Give the correction a boundary: one clip, time range, caption, or visual. Keep an earlier version so you can compare the result before using the same treatment elsewhere.
9. Name the clip and range that need changing
Describe the problem as it appears in the viewer, then specify the desired result.
In Short 03, the two faces are cropped during [range]. Reframe that section so both faces remain visible. Keep the dialogue, captions, duration, and surrounding cuts.
The recorded case uses this kind of local instruction. Review the entry and exit frames as well as the middle of the corrected section.
10. Reuse the design that already works
Save a caption style or a suitable graphic after reviewing it on a real project. In ChatCut, Caption style → Save current style stores the current caption design for reuse.
Apply it to the next recording and check again. A position that avoided one speaker’s face may cover a different composition. Reusable instructions should preserve the intent while allowing source specific corrections.
For the appearance of generated graphics, open the palette icon in the AI composer and choose or create a Design Style. This is separate from saving a caption preset. Keep workflow instructions in a Skill and the graphic’s visual direction in a Design Style.
11. Repair the crop for each destination
Create the versions you need and inspect their crops independently. Turning a longer video into a 9:16 short changes which parts of the picture remain visible. A square feed clip and a horizontal tutorial need their own framing too.
Check faces, captions, logos, screen controls, and important gestures. If a tutorial becomes unreadable in a vertical crop, create a closer view of the action rather than shrinking the entire desktop into the frame.
12. Check the file your viewer will receive
Inspect the downloaded video outside the editor. Check picture, sound, start, end, orientation, captions, and any range selected for export.
For an XML handoff, also inspect the destination timeline. Some items do not travel in XML, and rendered graphics do not become native editable compositions in the destination editor.
Frequently asked questions
What should I fix first in an AI video edit?
Start with the problem in your cut. If the point is unclear, inspect the source selection and order of ideas. If the story already works but a voice is buried or a face is cropped, fix that specific layer. Replay the changed section before adding another treatment.
Will shortening my video always improve engagement?
No. Wistia’s 2026 report, based on more than 13 million videos on its platform, found higher average proportions watched for shorter videos, while longer videos could still earn more total watch time. Those measures answer different questions. Keep the steps your viewer needs, then remove material that gets in the way; the report does not show that adding cuts causes better engagement.
What should I do with a generated shot that looks good but feels wrong?
Name the timeline range and explain the point the image needs to support. Replace the shot with suitable footage, an image, or a graphic, then play it with the surrounding narration. Judge whether the viewer can understand the idea more clearly.
How detailed should a correction prompt be?
Specify the affected clip or range, the problem, the desired result, and what must stay. For example: “Reframe these two speaker layers so both faces remain visible. Keep the dialogue, captions, timing, and surrounding cuts.” Replay the affected section after the change.
How do I reuse a look without copying the whole old edit?
Save a caption preset for text appearance and a Design Style for the visual direction of generated graphics. Save a Skill for a repeatable editing method. Apply them to the new source, then check placement, selected quotes, and timing again.
Should every video have fast jump cuts?
No. Match the rhythm to the subject and delivery. Keep a pause when it helps the viewer understand or feel the point.
Can AI save a fixed number of hours?
That requires a measured comparison with the same source and review standard. These tips improve how you direct and inspect the work; they do not establish a universal speed gain.
A better first cut starts with the problem the viewer can feel
Choose the correction that solves the visible or audible problem. Remove repeated takes only when the remaining thought stays complete, replace a shot when it explains the wrong idea, and keep speech, captions, framing, and music on the layers where you can review them. In ChatCut, state the affected clip or range, the desired result, and what must remain, then play the change before applying the same rule elsewhere.
Finish by watching the exported file from the first frame to the last correction. Reuse a caption style, Design Style, or Skill only after it survives a different piece of footage; a reusable setting can speed up a decision, but it cannot replace listening and looking at the new cut.