How to Create Tutorial Videos Viewers Can Follow
Quick summary
A tutorial works when a viewer can pause, perform the action, and see the same result. Define the starting state, record each required action and its visible outcome, then remove waiting and repeated attempts without removing evidence that a step succeeded.
A tutorial is not a screen recording with a voice laid over it. The viewer needs to know where to start, what changed after each action, and how to recognize success. If a click is visible but its result is hidden, the lesson asks the viewer to guess.
In ChatCut, import the screen recording and narration, then ask for a bounded first cut: “Keep the starting settings, each required action, and the final result. Remove waiting and repeated attempts, but preserve the feedback that shows a step succeeded.” Play the returned timeline at normal speed and pause after each action. That check tells you whether the edit teaches the task before you spend time on labels and transitions.
Define what the viewer must be able to repeat
Write one sentence describing what the viewer will finish. Add what they must have open or prepared, and what they should see when it works. Use those three lines to decide which actions belong in the recording.
For a software tutorial, an example outcome might be “export a captioned video and a matching SRT.” The starting state is an imported recording with transcription finished. The success check is a playable video and subtitle file that match. These are practice choices, not required topics or defaults.
List each action with where it happens and what the viewer should see afterward. If a step requires a particular account, version, or file, show that before asking the viewer to click. Prepare a small representative example instead of exposing private production data.
Capture the action and the state it creates
Use a recorder that captures the screen, microphone, and optional camera at the quality you need. ChatCut includes screen, camera, and voiceover recording.
In ChatCut, open the chevron beside Record and choose Screen under Recording settings. Select the left side of Record, choose the screen or window in the system picker, and start the take. Stop with the recording control or the system sharing control. The recording is saved to My Assets and placed at the starting playhead position.
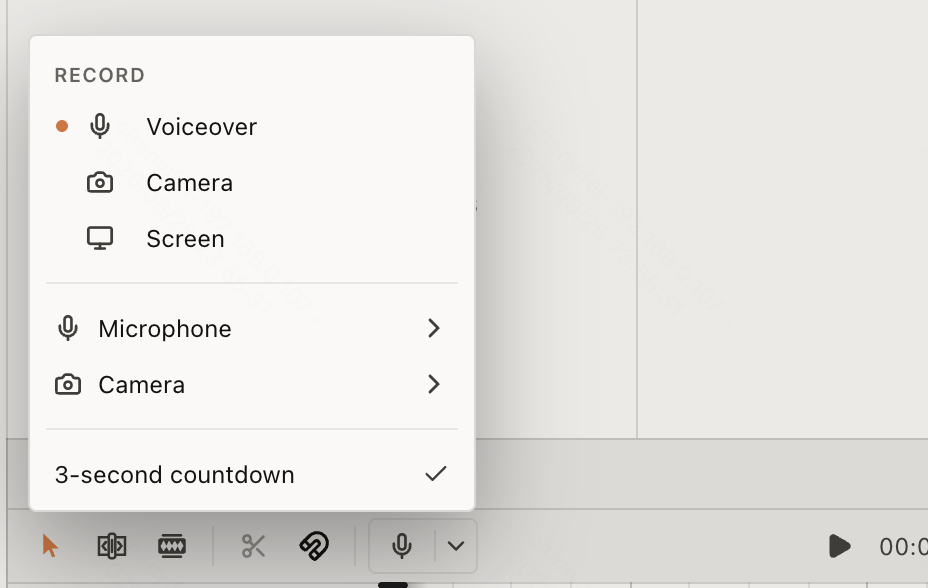
The recording guide explains microphone selection and the optional countdown. Browser and operating system permissions differ, so make a short test and check the resulting file before recording the whole lesson.
OBS Studio is another option when you want a separate recording setup with scenes and multiple sources. Loom, Screen Studio, and Camtasia are other recording options. Compare platform support and sharing features against the way you intend to deliver the tutorial.
Keep proof beside the instruction
Keep the interface readable and give each important action a visible result. Close unrelated windows, suppress notifications, and use example data suitable for sharing.
Move the cursor deliberately to the relevant control and name it as you use it. Pause long enough for the viewer to see the response. If a process takes time, record its beginning and completed state so an edit can remove waiting without pretending the operation is instantaneous.
When you make a mistake, stop briefly and repeat the complete step. Leave enough space around the new take to make a clean cut.
For example, when teaching subtitle export, capture the click on Export, the selection of Subtitles, the format choice, and the downloaded result. You can remove the wait between those states while retaining the states themselves. A narration saying “download the file” over an unchanged dashboard leaves the viewer to guess the missing operation. If a common error is useful to teach, keep a separate recording of the error and the recovery.
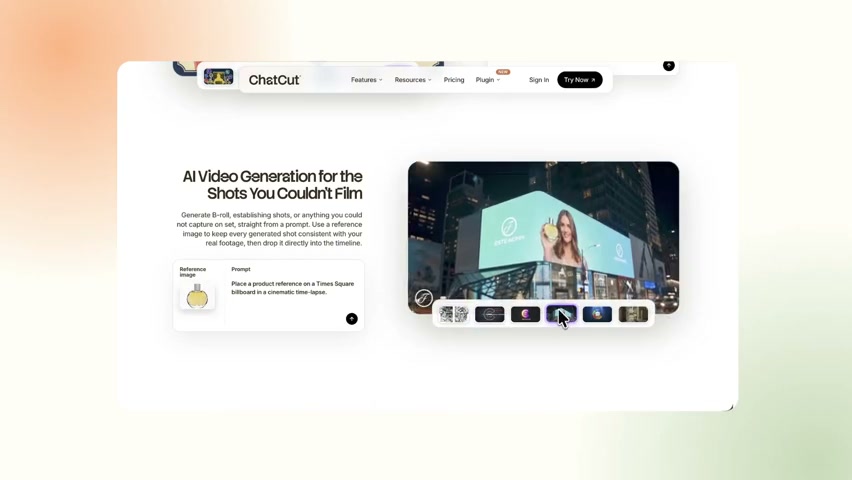
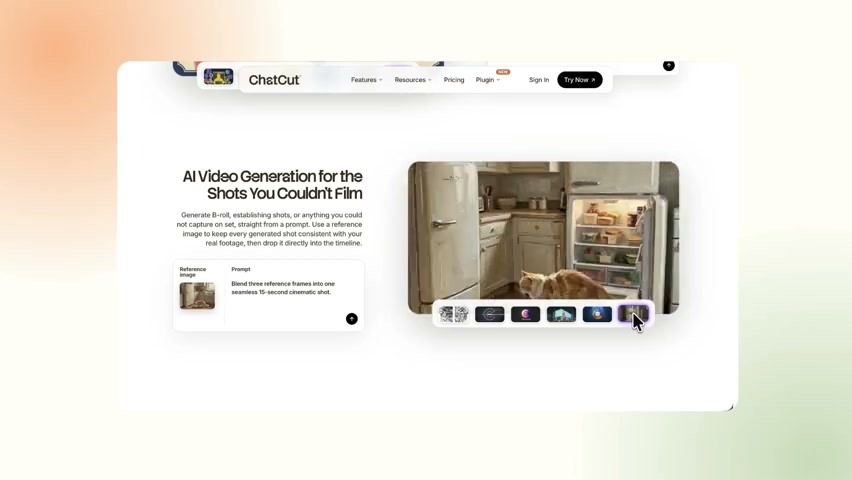
Tighten the lesson without deleting evidence
Keep the promised result, setup, required actions, and final check in a sequence the viewer can follow. Remove waiting and repeated attempts only after you have confirmed that each necessary action and response still appears.
Import the screen recording and narration. Use transcript editing to locate repeated explanations, then inspect the picture before cutting. A sentence can be redundant while the screen underneath it contains an essential action.
Make this tutorial about [outcome]. Keep the starting settings, each required action, and the final result. Remove repeated attempts and waiting, but preserve feedback that shows a step succeeded. Flag any instruction whose matching screen action is missing.
If the action and narration do not agree, rerecord the line or the screen step. Do not use a generated interface as evidence that the real software behaved that way.
Make the target readable while preserving orientation
Zoom when the viewer needs to read or locate a small control. Add a short label or arrow when the relationship is still unclear after framing the real screen carefully.
ChatCut’s effects guide documents Library effects, LUTs, Zoom, and Transitions. A supplied zoom can be dragged onto a compatible video clip and adjusted through the properties it exposes. Use a short section to check the framing and timing.
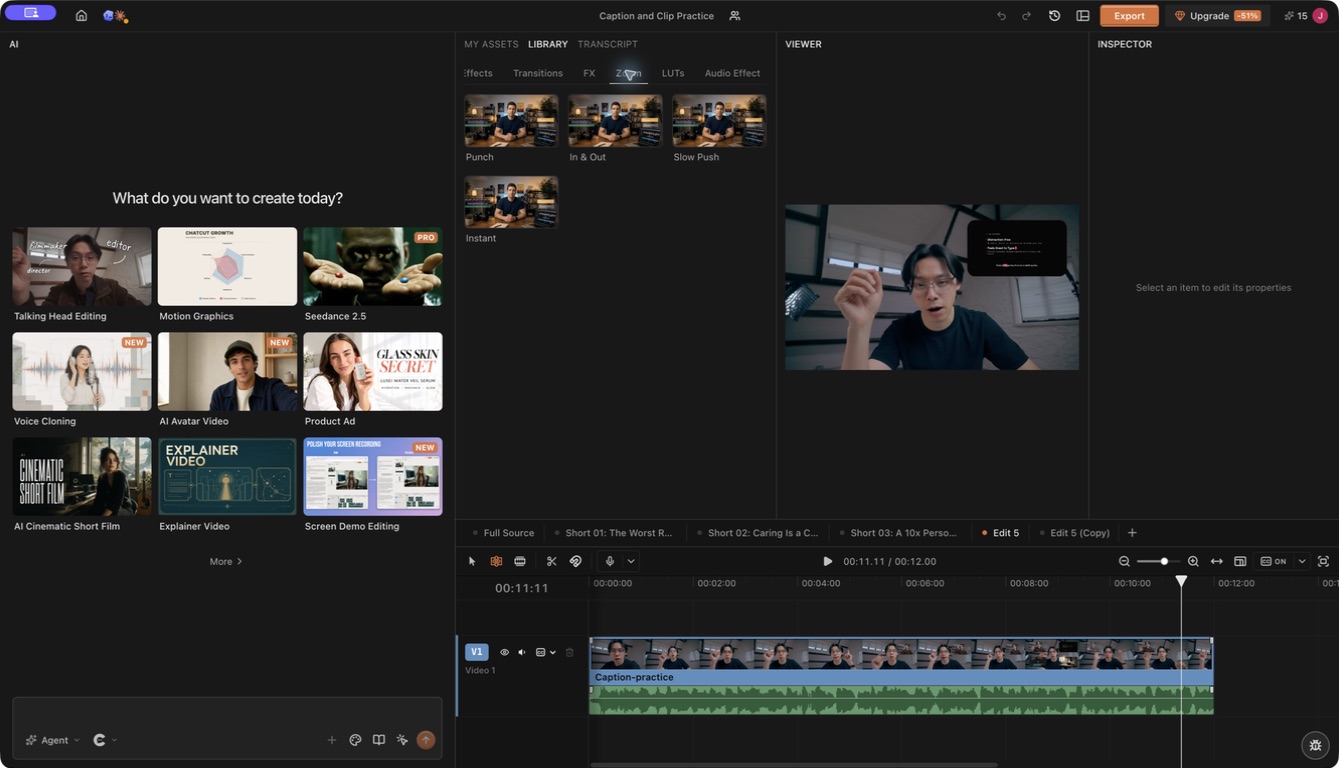
Give a callout a specific job:
During [range], label the Export button with “Export.” Keep the label away from the settings the viewer must read, and remove it after the action finishes.
Preview the sequence at the expected viewing size. If a label overlaps a menu that opens later, change its position or end it earlier. Remove decorative movement that competes with the instruction.
Give viewers a way to find and replay a step
Turn on Captions after the spoken edit is stable, then correct visible wording in Content. Check product names, menu labels, keyboard shortcuts, and numbers against the actual interface.
Keep captions away from the control being demonstrated. If a phrase flashes too quickly, review its grouping and the time available. Do not assume a familiar social caption preset fits a dense software screen.
Use clear section titles for longer tutorials. When your publishing platform supports chapters, prepare times from the final exported version.

Guo, Kim, and Rubin’s 2014 study of edX video engagement analyzed 6.9 million viewing sessions across four courses. Viewers used tutorials differently from lectures, including more skimming and rewatching. For your edit, make each step easy to revisit: show its control, keep the resulting screen state, and title the chapter after the task. This was an observational study of those courses, not proof that every tutorial must fit a universal duration limit. Timeline markers are editing notes; do not assume they automatically become published chapters.
Use the finished file as a learner
Follow the tutorial using a clean starting state and check that every necessary step appears. If that is not possible, have someone familiar with the task review the instructions and record what remains untested.
Play the exported file outside the editor. Inspect small interface text, cursor movement, narration, captions, and the final result. Export a matching SRT when the destination supports it and that is the delivery you need.
Choose resolution according to the source and how clearly the interface must be read. ChatCut’s Export documentation describes the available controls. Export a short section with small interface text and check its readability before rendering the full tutorial.
Frequently asked questions
How do I record my screen and narration in ChatCut?
Open Recording settings, choose Screen, and check the microphone and countdown. Start recording through the system sharing picker and capture the intended window or screen. After stopping, play the resulting asset to confirm the action and voice were both recorded.
What should I write before recording a software tutorial?
State what the viewer will finish and what they must already have open or prepared. For each step, write where to act, what to do, and what should appear next. Record the resulting state as well as the click so the viewer can tell whether the step worked.
How long should a tutorial be?
Long enough to complete the promised task without missing steps. Split independent tasks when each needs its own starting state and outcome. Use clear step boundaries so a viewer can revisit one action without replaying the entire explanation.
How do I zoom into a small control without confusing viewers?
Show enough of the interface to establish where the control sits, then use Library → Zoom and its properties to direct attention. Check the start and end of the move. Keep the next action visible and return to a wider view when the workflow changes location.
How do I check that viewers can follow the finished tutorial?
Follow the exported tutorial from its stated starting point. Try reading the smallest control label at the expected viewing size, and compare captions and narration with the actual interface. Confirm that every action leads to a visible result and that the promised final task can be completed.
Do I need a camera?
No, if the screen and narration explain the task. Use a camera when seeing the person or a physical demonstration adds useful information.
Can I create one for free?
Check the recorder and editor’s actual limits. ChatCut includes recording and core editing, while cloud export allowance, agent use, and generated assets have their own plan or credit rules.
Can AI create the whole explanation from a prompt?
It can help plan, assemble, and revise it. The instructions still need to match the real product and a result the viewer can reproduce.
A tutorial is finished when another person can repeat it
Write the task as a result the viewer can verify, record the starting state and every required action, and trim only the waiting or failed attempts that do not teach anything. In ChatCut, use the recording and narration as the source, describe what must stay, and check the returned timeline at the same pause points a learner will use.
Export the lesson, follow it from the actual file, and confirm the labels, captions, cursor position, and final state are visible. A clean timeline matters only when it still carries the evidence needed to complete the task.